







Description
The Starter Arduino Kit for Beginners is a complete basic electronics learning kit designed for students, hobbyists, makers, and anyone who wants to start learning Arduino programming, sensors, and simple automation projects. This kit includes an Arduino UNO-compatible board, breadboard, jumper wires, LEDs, sensors, push button, buzzer, and essential beginner components.
Starter Arduino Kit for Beginners Arduino programming, electronics, sensor interfacing এবং basic robotics শেখার জন্য একটি beginner-friendly component kit। এই kit দিয়ে LED blinking, push button control, LDR night lamp, temperature monitoring, buzzer sound, ultrasonic distance measurement, obstacle detection এবং motion alarm project তৈরি করা যায়।
This kit is ideal for school projects, college projects, robotics workshops, STEM learning, electronics training, and DIY project practice.
Key Features | প্রধান বৈশিষ্ট্য
- Complete beginner Arduino learning kit
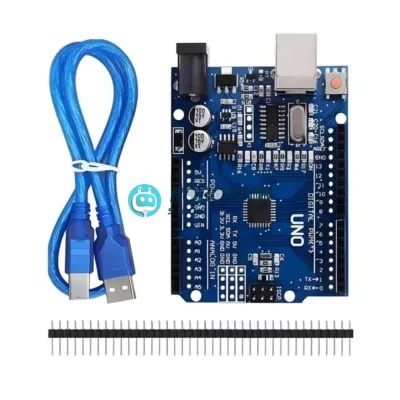
- Includes Arduino UNO-compatible board with USB cable
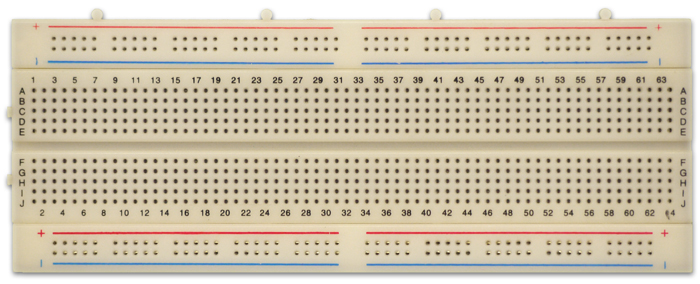
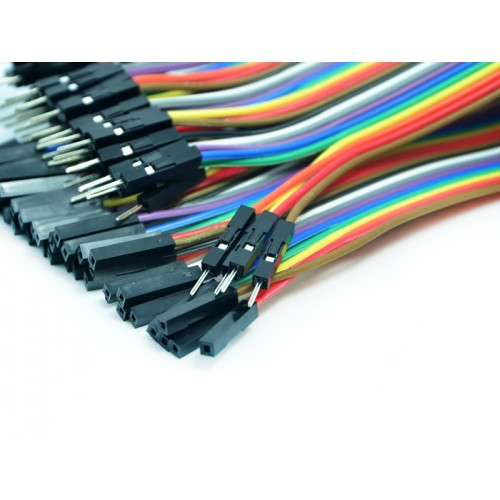
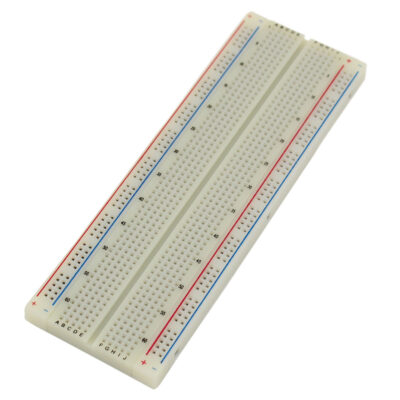
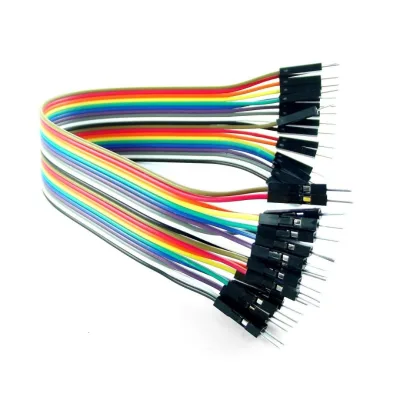
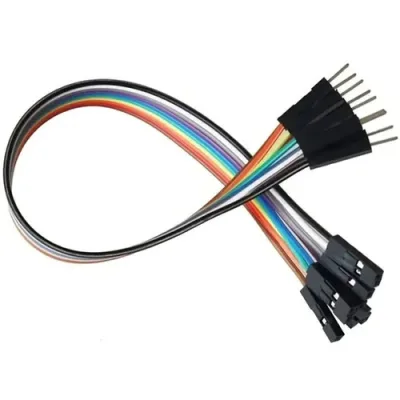
- Comes with breadboard and jumper wires
- Includes useful sensors for hands-on projects
- Suitable for LED, buzzer, button, LDR, DHT11, ultrasonic, IR, and PIR projects
- No soldering required for most beginner experiments
- Perfect for school, college, university, and robotics workshops
- Helps learn programming, wiring, sensors, and automation basics
- Ideal for students, teachers, hobbyists, and makers in Bangladesh
What You Can Learn | যা শেখা যাবে
- Arduino IDE setup and code upload
- Digital input and output
- Analog sensor reading
- LED control
- Push button interfacing
- LDR light detection
- Temperature and humidity reading
- Ultrasonic distance measurement
- IR obstacle detection
- PIR motion detection
- Buzzer alert system
- Basic electronics circuit building using breadboard
Project Ideas Included | প্রজেক্ট আইডিয়া
With this kit, you can build beginner-friendly Arduino projects such as:
- LED Blinking
- LED On/Off with Push Button
- Auto Night Lamp using LDR
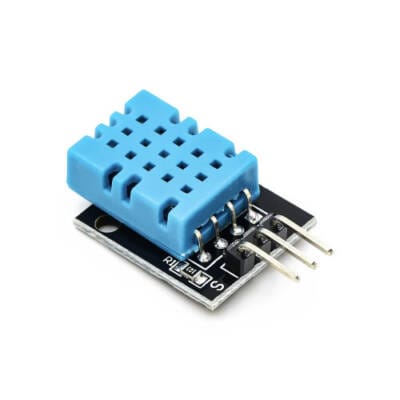
- Temperature & Humidity Monitor using DHT11
- Play a Tune with Buzzer
- Distance Measurement using HC-SR04 Ultrasonic Sensor
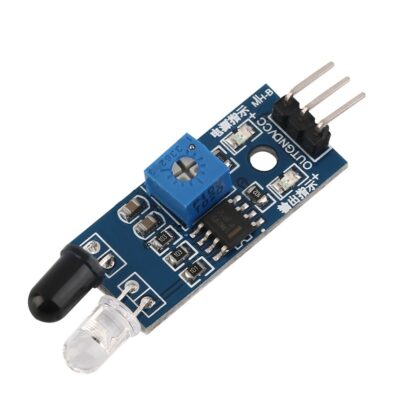
- Obstacle Detection using IR Sensor
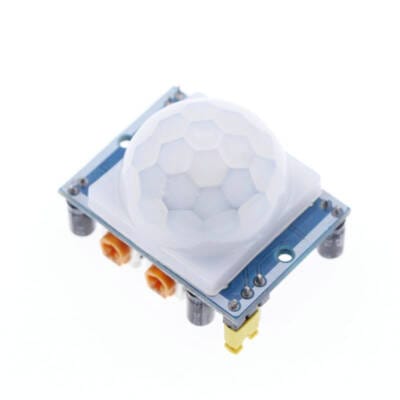
- Motion/Thief Detection Alarm using PIR Sensor and Buzzer
Package Includes | প্যাকেজে যা থাকছে
- 1 × Arduino UNO R3 Compatible Board with USB Cable
- 1 × Breadboard 830 Points
- 1 × Male-to-Male Jumper Wire Set
- 1 × Male-to-Female Jumper Wire Set
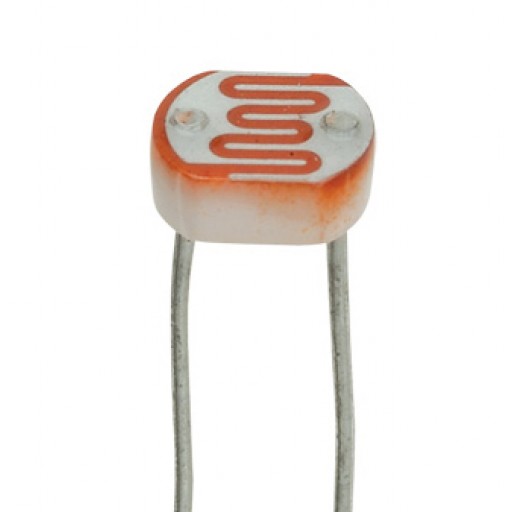
- 1 × Light Dependent Resistor / LDR
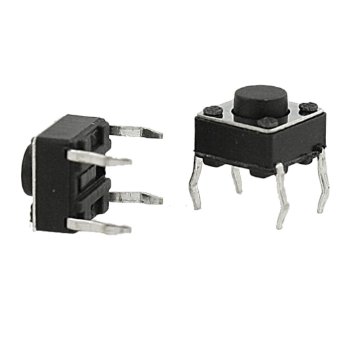
- 1 × Push Button
- 1 × DHT11 Temperature and Humidity Sensor
- 1 × Active Buzzer Module
- 1 × HC-SR04 Ultrasonic Distance Sensor
- 1 × IR Obstacle Avoidance Sensor Module
- 1 × HC-SR501 PIR Motion Sensor Module
- 1 × LED Pack
- Resistors may be included depending on stock batch
Product brand, board color, module color, cable color, and accessories may vary slightly depending on available stock.
Important Notes | গুরুত্বপূর্ণ নোট
- This is a beginner-level Arduino starter kit.
- Assembly and coding are required.
- Arduino IDE needs to be installed on a computer.
- Use correct wiring before powering the circuit.
- For LEDs, always use a current-limiting resistor when needed.
- Some sensor modules may have slightly different pin labels depending on stock batch.
- Batteries or external power supply may not be included unless mentioned separately.
- For young students, teacher or guardian supervision is recommended.
Beginner Project Codes | প্রজেক্ট কোড
Project 1: LED Blinking
Connect LED positive leg to Arduino pin 13 through a resistor and negative leg to GND.
#define LED_PIN 13

void setup() {
  pinMode(LED_PIN, OUTPUT);
}

void loop() {
  digitalWrite(LED_PIN, HIGH);
  delay(1000);

  digitalWrite(LED_PIN, LOW);
  delay(1000);
}
Project 2: Push Button LED Control
Connect push button signal to pin 2 and LED to pin 13.
#define BUTTON_PIN 2
#define LED_PIN 13

void setup() {
  pinMode(BUTTON_PIN, INPUT_PULLUP);
  pinMode(LED_PIN, OUTPUT);
}

void loop() {
  int buttonState = digitalRead(BUTTON_PIN);

  if (buttonState == LOW) {
    digitalWrite(LED_PIN, HIGH);
  } else {
    digitalWrite(LED_PIN, LOW);
  }
}
Project 3: Auto Night Lamp using LDR
Connect LDR voltage divider output to A0 and LED to pin 13.
#define LDR_PIN A0
#define LED_PIN 13

int threshold = 500;

void setup() {
  Serial.begin(9600);
  pinMode(LED_PIN, OUTPUT);
}

void loop() {
  int lightValue = analogRead(LDR_PIN);

  Serial.print("LDR Value: ");
  Serial.println(lightValue);

  if (lightValue < threshold) {
    digitalWrite(LED_PIN, HIGH);
  } else {
    digitalWrite(LED_PIN, LOW);
  }

  delay(500);
}
Project 4: Temperature & Humidity Monitor using DHT11
Install the DHT sensor library before uploading this code. Connect DHT11 data pin to Arduino pin 2.
#include <DHT.h>

#define DHTPIN 2
#define DHTTYPE DHT11

DHT dht(DHTPIN, DHTTYPE);

void setup() {
  Serial.begin(9600);
  dht.begin();
}

void loop() {
  float humidity = dht.readHumidity();
  float temperature = dht.readTemperature();

  if (isnan(humidity) || isnan(temperature)) {
    Serial.println("Failed to read from DHT11 sensor");
    return;
  }

  Serial.print("Temperature: ");
  Serial.print(temperature);
  Serial.print(" °C | Humidity: ");
  Serial.print(humidity);
  Serial.println(" %");

  delay(2000);
}
Project 5: Play a Tune with Buzzer
Connect active/passive buzzer signal pin to Arduino pin 8.
#define BUZZER_PIN 8

void setup() {
  pinMode(BUZZER_PIN, OUTPUT);
}

void loop() {
  tone(BUZZER_PIN, 1000);
  delay(300);

  tone(BUZZER_PIN, 1500);
  delay(300);

  tone(BUZZER_PIN, 2000);
  delay(300);

  noTone(BUZZER_PIN);
  delay(1000);
}
Project 6: Distance Measurement using HC-SR04 Ultrasonic Sensor
Connect TRIG to pin 9 and ECHO to pin 10.
#define TRIG_PIN 9
#define ECHO_PIN 10

void setup() {
  Serial.begin(9600);
  pinMode(TRIG_PIN, OUTPUT);
  pinMode(ECHO_PIN, INPUT);
}

void loop() {
  digitalWrite(TRIG_PIN, LOW);
  delayMicroseconds(2);

  digitalWrite(TRIG_PIN, HIGH);
  delayMicroseconds(10);
  digitalWrite(TRIG_PIN, LOW);

  long duration = pulseIn(ECHO_PIN, HIGH);
  float distanceCm = duration * 0.034 / 2;

  Serial.print("Distance: ");
  Serial.print(distanceCm);
  Serial.println(" cm");

  delay(500);
}
Project 7: IR Obstacle Detection
Connect IR sensor OUT pin to Arduino pin 2 and LED to pin 13.
#define IR_PIN 2
#define LED_PIN 13

void setup() {
  Serial.begin(9600);
  pinMode(IR_PIN, INPUT);
  pinMode(LED_PIN, OUTPUT);
}

void loop() {
  int sensorValue = digitalRead(IR_PIN);

  if (sensorValue == LOW) {
    Serial.println("Obstacle Detected");
    digitalWrite(LED_PIN, HIGH);
  } else {
    Serial.println("No Obstacle");
    digitalWrite(LED_PIN, LOW);
  }

  delay(300);
}
Project 8: Motion / Thief Detection Alarm using PIR Sensor
Connect PIR OUT pin to Arduino pin 2 and buzzer to pin 8.
#define PIR_PIN 2
#define BUZZER_PIN 8

void setup() {
  Serial.begin(9600);
  pinMode(PIR_PIN, INPUT);
  pinMode(BUZZER_PIN, OUTPUT);
}

void loop() {
  int motionState = digitalRead(PIR_PIN);

  if (motionState == HIGH) {
    Serial.println("Motion Detected!");
    digitalWrite(BUZZER_PIN, HIGH);
  } else {
    Serial.println("No Motion");
    digitalWrite(BUZZER_PIN, LOW);
  }

  delay(500);
}
Why Choose This Starter Arduino Kit?
This kit gives beginners a practical way to learn electronics by building real projects. Instead of buying components one by one, this bundle provides essential Arduino learning parts in one package. It is suitable for classroom teaching, robotics clubs, science fair projects, and personal learning.
এই kit-এর মাধ্যমে beginner-রা হাতে-কলমে Arduino এবং electronics শিখতে পারে। আলাদা আলাদা component কেনার ঝামেলা ছাড়াই basic project করার জন্য প্রয়োজনীয় parts একসাথে পাওয়া যায়।
Frequently Asked Questions | FAQ
Q1: Is this kit suitable for beginners?
Yes. This kit is designed for beginners, students, and hobbyists who want to learn Arduino and electronics.
Q2: Is Arduino board included?
Yes. An Arduino UNO R3-compatible board with USB cable is included.
Q3: Do I need soldering?
No. Most beginner projects can be done on the breadboard without soldering.
Q4: Can I make a robot car with this kit?
This kit is mainly for basic Arduino learning and sensor projects. For a robot car, you will need a chassis, motors, motor driver, and battery system.
Q5: Can I use this kit for school projects?
Yes. It is suitable for school science fair, college projects, and robotics training.
Q6: Is coding required?
Yes. You need to upload Arduino code using Arduino IDE.
Q7: Does it include Bluetooth?
No. This basic starter kit does not include Bluetooth module.
Q8: Can I use it with ESP32?
Some sensors and components can also be used with ESP32, but the included controller is Arduino UNO-compatible.
Starter Arduino Kit for Beginners with UNO, Sensors, Breadboard & LEDs
Buy Starter Arduino Kit for beginners in Bangladesh with UNO compatible board, breadboard, jumper wires, LEDs, DHT11, LDR, buzzer, ultrasonic, IR and PIR sensors. Ideal for students and robotics learning.



Reviews
There are no reviews yet.